Power BI data import from Excel, CSV, Web, SQL Server
Power BI data import from Excel and from different data sources
After installing and getting to know Power BI features, the next thing that we are going to do is import the data from the different data sources. Now here we will follow a strategy that will help us retain most of the knowledge. We will try to avoid knowledge overload, which means we will do things in chunks only. We will try to learn in iterations. So that we can retain the maximum of what we have learnt. Power BI data import from Excel sheet, CSV file, Web will be covered in detail in this tutorial.
Read more: Power Desktop Download and its features.
Before starting the tutorial, make sure you have downloaded the Power BI Desktop and opened it. If you haven’t opened it yet, just double-click on the Power BI icon and the Power BI desktop will open. You can exit the pop-up and this will take you to the visualization page of Power BI.
Power BI Import Data from Excel
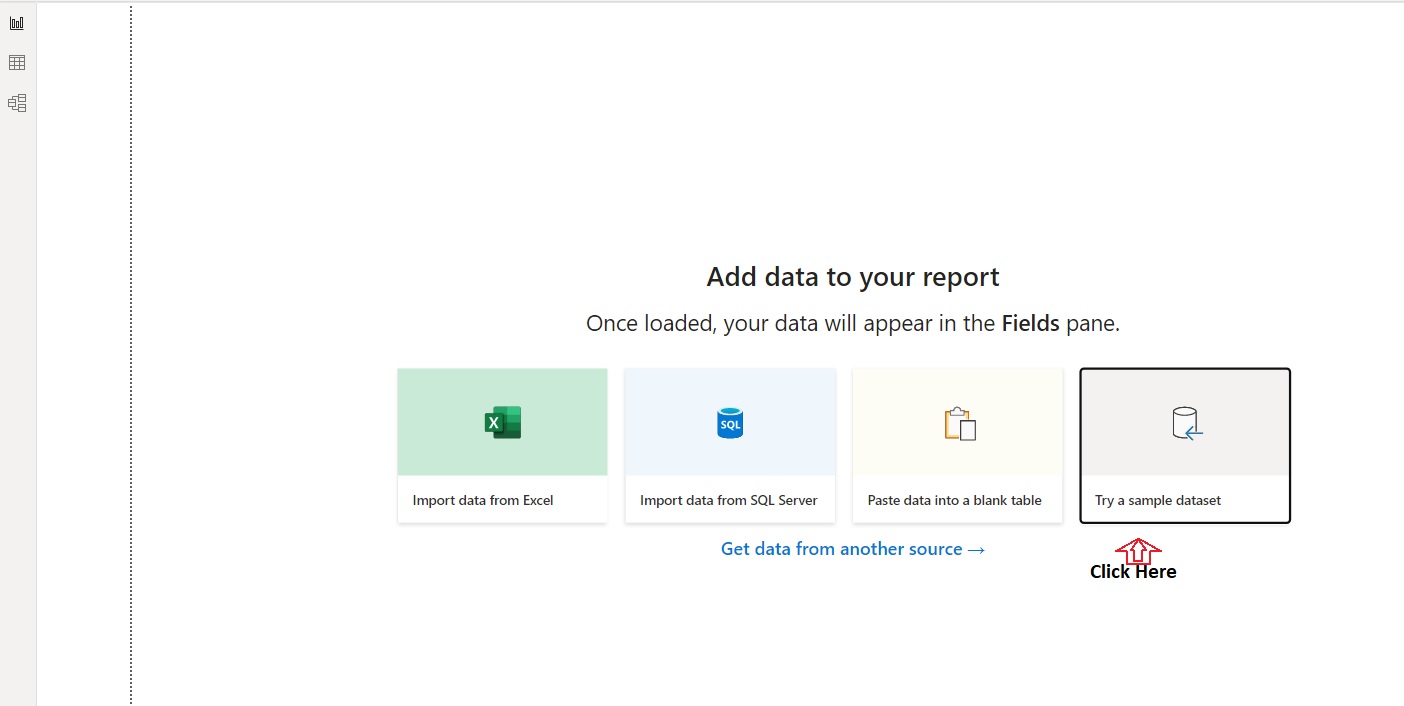
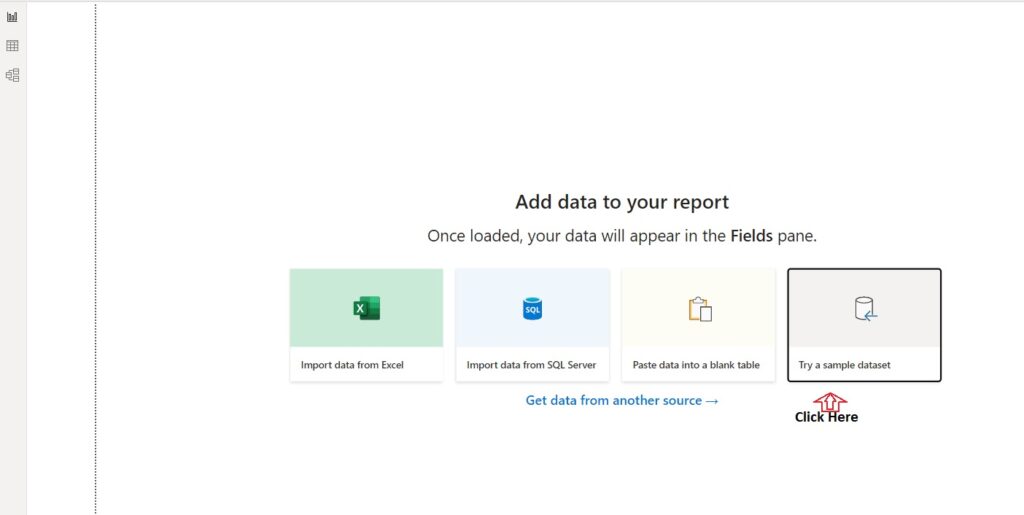
When you will land on the Power BI visualization tab. Now you can click on the Tab “Try a Sample Dataset” as shown in the below image.
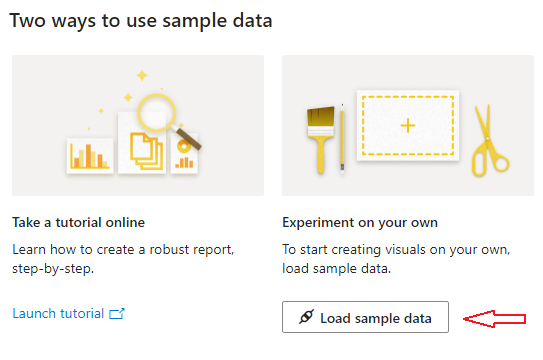
This will take you to another pop-up showing two options. You have to select “Load Data” below the “Experiment on your own” option.
This will load your data in the Power BI Desktop. The data that is imported in Power BI now is in Excel format. But what if you need to import data from your personal system. Don’t worry, we got you covered. Follow the steps to learn How to import Excel data in Power BI from a personal system?
- You can download the Financial sample Excel Workbook.
- Open Power BI Desktop.
- In the Home ribbon, click on Get Data. Click on Excel.
- Navigate to the Downloads where your Excel sheet was downloaded. You can choose the location if you had changed it.
- Select the Excel sheet and click Open.
A Navigator window will open, and you will see two options available
- Financials
- Sheet1
Choose Financials and check the checkbox in front of it and choose Load for now. Your Excel file is finally uploaded to the Power BI dashboard. Keep the file in your systems, as we will use this Excel file in Project_0 and Project_1. But this article is about data importing only. So we will focus on that.
Read more: Windows 11 and its new features.
Power BI Data Import from CSV file
Importing data from the CSV file is a lot more like the Excel file. We will cover this in this section and help you import the same Financial Dataset in the CSV format. In this tutorial series, we are following the most retention approach so that the user retains the most he learns from here. Also, this approach will give the user a bit of confidence, in using Power BI on its own and explore the feature of Power BI.
Follow these steps to download and import CSV data in Power BI.
- Download the Financial sample CSV file here.
- Go to your Downloads folder and check whether the file is downloaded or not.
- Open Power BI,
- Go to navigator pan and click Get Data.
- From the dropdown, select Text/CSV.
- Find your file from the folders. If you are using the other file for the report making. Select it.
- Click Open. A pop-up will open, showing you the sample of your data
- Click Load.
Your CSV file is loaded in the Power BI, and It’s ready to use. If your file is present in OneDrive still the same procedure will be followed. However, keeping your files is better, with OneDrive Power BI updates and checks for any changes in the file that is used in the report and automatically updated. For a local system that is not possible. So your data file, report and dashboard will remain secure and connected in real-time.
Power BI Data Import from SQL
Power BI connection with SQL Server will be covered in this section. Before proceeding further, make sure that you have access to the SQL server so that you can pull data from it. Follow the steps and replace the Server name and Database name with your Server and Database names.
- In Power BI Desktop. Click on the Get data in the navigator.
- Select SQL Server from the dropdown.
- SQL Server database dialog box will appear. Enter the Server and Database names from where you need to pull the data. Make sure the Data Connectivity mode is import.
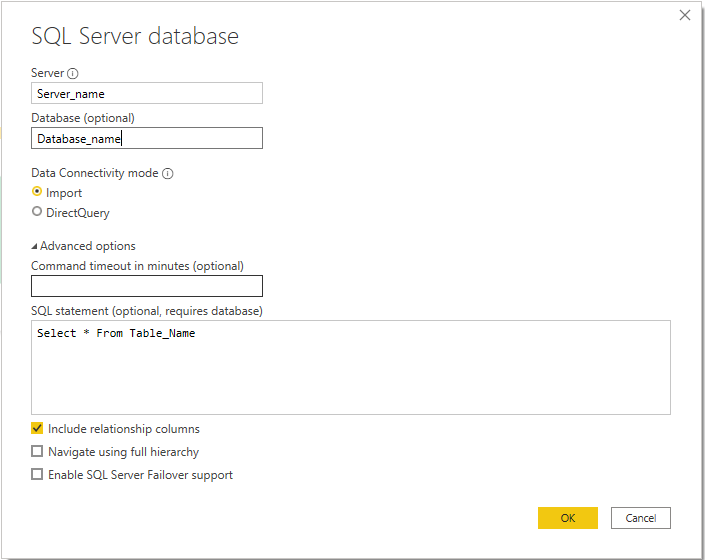
- In Advanced options. You can enter an SQL query into the SQL statement. Entering an SQL query in the Advanced options is a very good strategy that is used by professionals. This reduces the load of Power BI and only necessary data is pulled into it.
- Click OK and you will see a data preview in the window. If you are going to use only that much data. Click Load.
Power BI Data Import from Web
This is also a very important step to learn for beginners because most of the time the data is not stored in the Database but spread on the Web itself. At this, you need to collect the data from the web. In this section, we will try to connect with a simple web source of data. We will try to connect with the current Coronavirus cases globally and this data will also be our main data source for Project_0. Follow the steps to import data from Web in Power BI.
- Open Power BI and click on Get Data from the navigator.
- From the dropdown, select Web.
- A window will open to enter the Web address for the data source. Enter worldometers.info/coronavirus/.
- Click Connect.
- Power BI will take a few minutes to connect to the website.
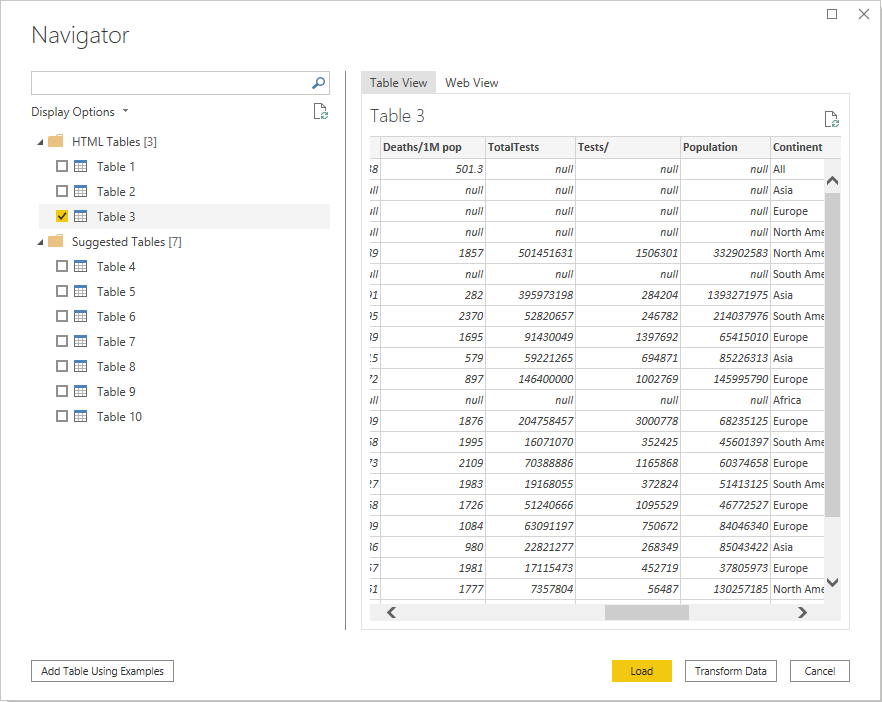
- You will see a pop-up like the above.
- Select Table 3 in HTML Table tab. It will show you the preview of the data on the other side.
- Click Load. Your data is now ready to use in Power BI.